
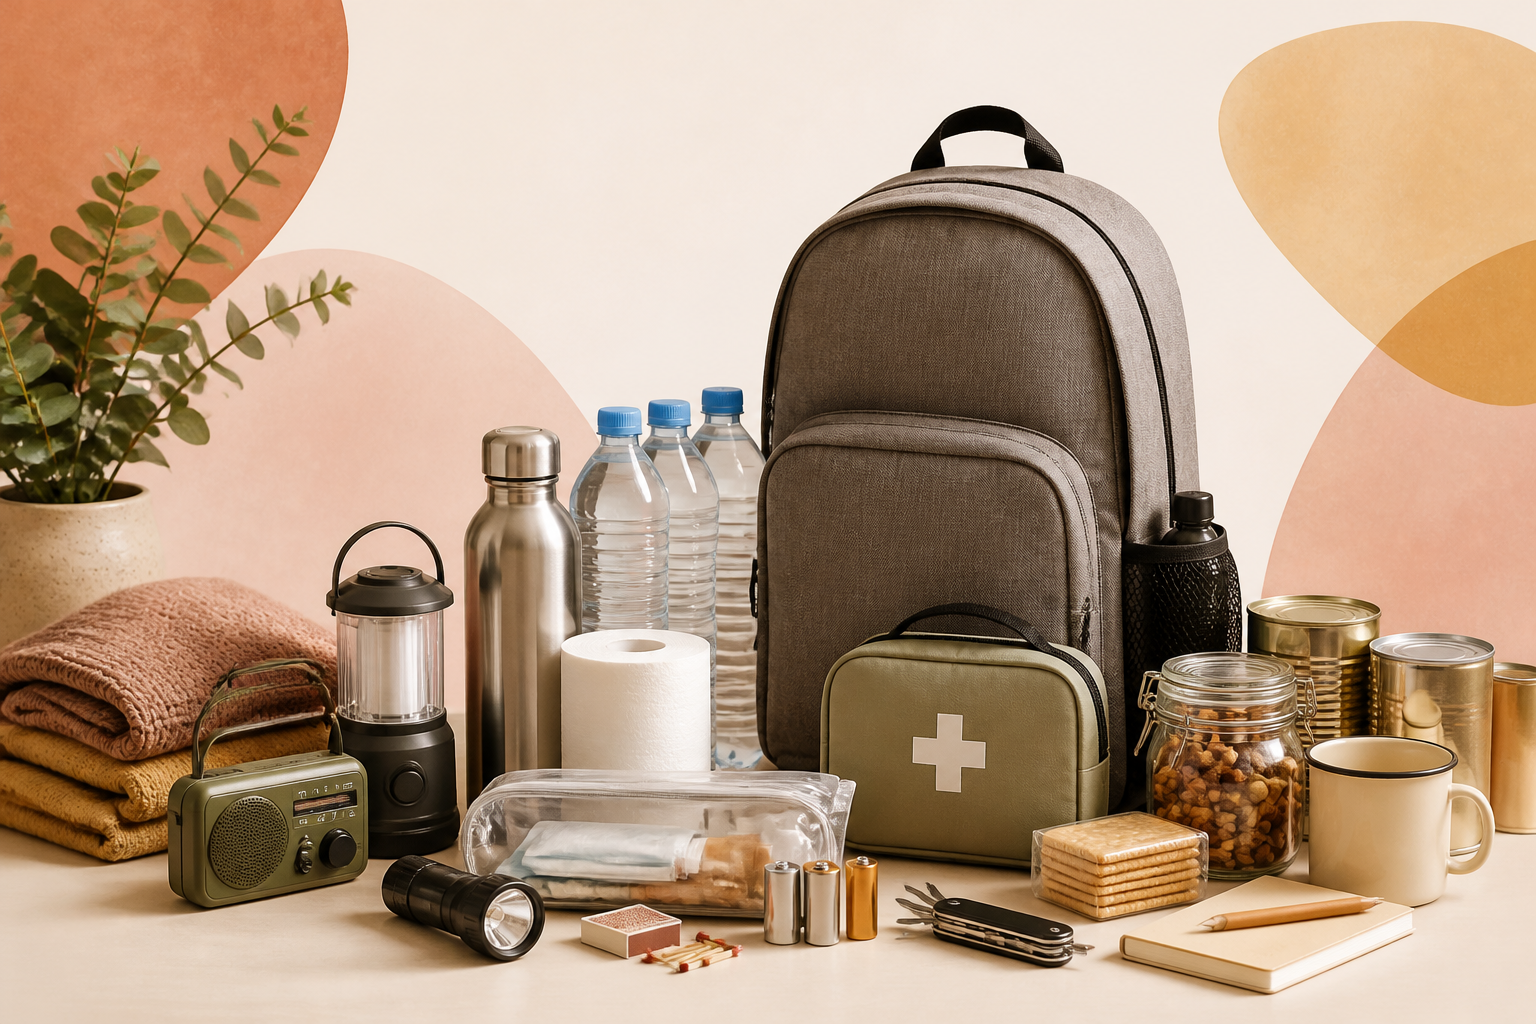
To build a home emergency kit, you should gather essential supplies that allow your household to remain self-sufficient for at least 72 hours. This includes three litres of water per person per day, non-perishable food, a battery-powered torch, a first aid kit, and a portable power bank for mobile devices.
What items are essential for a home emergency kit?
The core of a home emergency kit consists of items that provide light, warmth, communication, and basic nutrition during a utility failure. You do not need expensive survival gear; rather, you need reliable versions of everyday items that function without mains electricity or running water.
In the UK, the most common disruptions are localised flooding, power cuts, or temporary water supply issues. A well-prepared kit should be stored in a single, accessible location, such as a waterproof plastic bin or a dedicated backpack. The following table breaks down the basic categories of supplies and their purpose.
| Category | Essential Items | Estimated Cost (Basic) |
|---|---|---|
| Hydration | Bottled water (12L per person for 4 days) | £10 - £15 |
| Lighting | LED torch, headlamp, spare batteries | £15 - £25 |
| Nutrition | Tinned goods, cereal bars, manual tin opener | £20 - £30 |
| Communication | Power bank, AM/FM battery radio | £30 - £50 |
| Hygiene | Wet wipes, hand sanitiser, bin liners | £10 - £15 |
Building this kit does not require a large upfront investment. You can find more information on managing your household resources in our life hacks section. Many people find that they already own 60% of these items, but they are scattered throughout different rooms.
How do you calculate food and water requirements?
You should calculate your water needs based on three litres per person per day for drinking and basic hygiene. For a household of two people, a four-day supply requires 24 litres of water, which is approximately four standard six-packs of 1.5L bottles found in most UK supermarkets.
Food supplies should focus on high-calorie, shelf-stable items that require no cooking. If the gas or electricity is off, you may not be able to boil water or heat tins. Focus on the following food types:
- Tinned proteins: Tuna, chicken, or beans.
- Dry snacks: Nuts, dried fruit, and oat bars.
- Tinned vegetables and fruits: These provide necessary fluids and vitamins.
- Ready-to-eat meals: Tins that can be eaten cold if necessary.
- Comfort food: Dark chocolate or hard sweets to maintain morale.
Check the expiry dates on these items every six months. A simple way to do this is to set a recurring calendar alert for the dates the clocks change in March and October. This ensures your wealth knowledge base of home resources stays current and usable.
Step 1: Choose a storage location and container
The first step is selecting a container that is easy to move and protects contents from dampness. A 50-litre plastic storage box with a clip-on lid is ideal for most households. If you live in a flood-prone area, store this box on an upper shelf or a higher floor. Ensure every adult in the house knows exactly where the kit is kept. Do not bury it behind heavy suitcases or seasonal decorations.
Step 2: Assemble lighting and power sources
A power cut is the most frequent reason to use a home emergency kit. Relying on candles is generally discouraged due to the fire risk in dark, unfamiliar conditions. Instead, opt for LED lighting. A headlamp is particularly useful as it keeps your hands free for tasks like checking a fuse box or preparing food.
Ensure you have a portable power bank that is kept at 100% charge. In a modern emergency, your smartphone is your primary tool for receiving updates from local councils or utility providers. A 20,000mAh power bank can typically charge a standard smartphone four to five times. You should also consider a small battery-powered radio, as local BBC stations are the primary source of information during widespread infrastructure failures.
Step 3: Prepare a basic medical and hygiene pack
Standard first aid kits often lack the specific items needed for an extended stay at home without utilities. Beyond bandages and antiseptic, include a two-week supply of any prescription medications. It is also wise to include over-the-counter pain relief, such as paracetamol or ibuprofen, and anti-diarrhoea medication.
Hygiene becomes a challenge if the water supply is interrupted. Wet wipes and hand sanitiser allow you to stay clean without using your drinking water. Large, heavy-duty bin liners are also essential; if the sewage system is affected, these can be used to line a toilet to manage waste safely.
Step 4: Document and cash backups
In a digital age, we often forget that hardware can fail. Keep a physical list of emergency contact numbers, including your GP, insurance provider, and local utility companies (water, gas, and electricity). You can find tips on organising these in our guide to personal development and home organisation.
Include a small amount of cash, perhaps £50 to £100 in smaller notes. If a power cut affects local shops, card machines will not work. Cash remains the most reliable way to purchase last-minute supplies or transport in these scenarios. Place these documents and cash in a waterproof zip-lock bag inside your kit.
How to maintain your kit over time
An emergency kit is not a "set and forget" project. Batteries can leak and corrode over several years, and plastic water bottles can eventually degrade. Every six months, perform a quick audit of your kit. Replace any food items within six months of their "best before" date and rotate them into your kitchen cupboards for immediate use. This prevents waste and ensures your kit is always fresh.
For more specific advice on maintaining a safe home environment, visit our how to blog section. Keeping your kit functional is a core part of long-term home management.
Frequently asked questions
Should I include a camping stove in my kit?
A camping stove is helpful but not strictly essential if you have enough ready-to-eat food. If you include one, ensure you have sufficient fuel and only use it in a well-ventilated area to avoid carbon monoxide poisoning. Never use a camping stove indoors unless the manufacturer explicitly states it is safe for indoor use with proper ventilation.
How much water do I really need for one person?
The standard recommendation is three litres per person per day. This covers two litres for drinking and one litre for basic washing and food preparation. If you have pets, you must factor in an additional one to two litres per day depending on the size of the animal.
Can I just buy a pre-made survival kit online?
Pre-made kits are often expensive and contain low-quality tools you may never use. Building your own kit allows you to customise medications, food preferences, and specific local needs while usually costing 40% less than a retail version. You can find more practical advice on saving money while preparing in our personal wealth management section.
Where is the best place to store an emergency kit?
Store your kit in a cool, dry, and easily accessible place like a hallway cupboard or under a bed. Avoid garages or sheds where temperature fluctuations can spoil food and dampness can ruin electronics. If your home has multiple levels, the ground floor is usually best unless you live in a high-risk flood zone.